


Have you ever stared at your old dishwasher while imagining the mysteries of how it’s attached to your kitchen? Or have you tried solving a puzzle in your head about how to remove a dishwasher?
Like many homeowners, the idea of removing a large appliance can be challenging. But don’t fret! Let’s take a look at the general idea of what you would face first:
Removing a dishwasher involves turning off the power and water supply, disconnecting hoses, and loosening mounting brackets. Gently pull the dishwasher out, being cautious of wires and plumbing. Seek guidance from the manufacturer’s manual for specific steps.
Removing a dishwasher can be a straightforward process with the right tools and a touch of guidance. Whether you’re replacing it with a new model or simply making room for something else, this guide has got you covered.
Tools and Materials Needed to Remove a Dishwasher
Here’s a comprehensive list of what you’ll need to remove your dishwasher easily and safely:
- Adjustable Wrench: It will help you disconnect various components, especially the water supply line.
- Screwdriver (both Phillips and flat-head). The tool is essential for removing screws from panels and brackets.
- Bucket or Pan. They are handy for catching residual water that might spill when detaching hoses.
- Towels. For cleaning up unexpected drips or spills.
- Pliers. You can use them for loosening connections, especially for the drain hose.
- Work Gloves. To protect your hands from sharp edges or components.
- Flashlight or Headlamp. It will make it easier to work in the dark, cramped spaces under the countertop or behind the dishwasher.
- Voltage Tester. Always ensure the power supply is turned off before starting.
When you have all the tools at hand, you’re off to go.
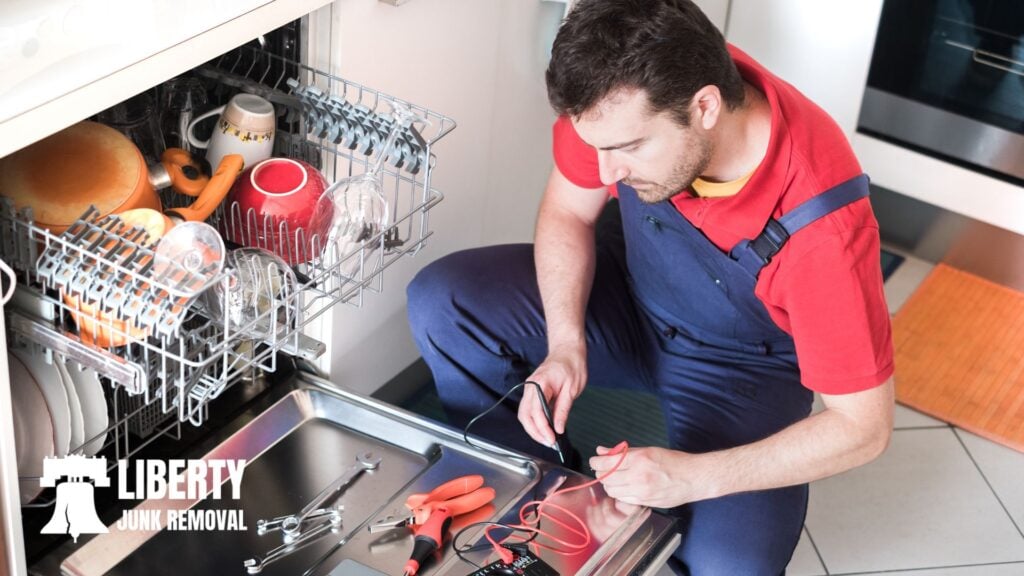
Step 1: Turn Off the Power Supply
Safety should always be your number one priority when working with appliances and turning off the power supply is a crucial step you should never skip. Electrical shocks are no joke. According to the Electrical Safety Foundation International (ESFI), electrical incidents continue to be a significant cause of injuries and even deaths at home. Cutting power is the simplest and most effective way to avoid such incidents.
How to Do It:
- Locate your home’s electrical panel, commonly known as the circuit breaker box.
- Identify the switch corresponding to your kitchen or, specifically, the dishwasher. If unsure, it’s a good idea to label them for future reference.
- Flip the switch to the “OFF” position.
- Return to the dishwasher and use a voltage tester to ensure no electricity flows to the unit.
Step 2: Turn Off The Water Source

Water and electricity are a dangerous combination. Before you begin working on removing your dishwasher, you must cut off its water supply to avoid potential hazards and messy situations.
Aside from the apparent risk of water spilling everywhere, there’s also the potential for water damage to your home’s structure or fostering mold growth. Mold can grow on damp surfaces within 48 hours, leading to potential health issues for inhabitants.
How to Do It:
- Look under your sink. In many homes, the water supply line for the dishwasher is connected to the hot water valve beneath the kitchen sink.
- Once located, turn the valve clockwise until it’s in the off position.
- If, for some reason, your dishwasher isn’t connected to the kitchen sink, trace the water supply line back to its source and turn it off from there.
- Place a towel or pan beneath the valve, as residual water might leak out when you begin the removal process.
Step 3: Detach The Water Supply Line
The water supply line is the lifeline of your dishwasher, providing it with the necessary water to clean your dishes. While detaching it might seem simple, doing it correctly ensures no water leaks, which can lead to water damage or mold.
How to Do It:
- Put on your work gloves.
- Slide out your dishwasher just enough to access its side.
- Locate the water supply line. It’s usually a copper or braided steel line.
- Using your adjustable wrench, carefully unscrew the water supply line from the dishwasher’s inlet valve.
- Have a bucket or pan ready, as some water trapped in the line might spill out.
Step 4: Detach The Drain Hose
The drain hose is typically connected to the sink’s garbage disposal or directly to the sink trap. It ensures that wastewater exits the dishwasher and is disposed of properly. A mismanaged detachment can lead to wastewater spills, which aren’t just messy but can also be unhygienic.
How to Do It:
- Check beneath your sink to find the dishwasher’s drain hose. It often connects either to your garbage disposal unit or directly to the sink’s drain.
- Using pliers, pinch the wire clamp that holds the hose in place and slide it up the hose.
- Gently wiggle the hose free from its connection point. Be cautious, as there may still be some residual water inside, which can spill out.
- If the hose seems stuck, don’t force it. Instead, try twisting it gently side to side until it loosens.
Step 5: Separate It From The Countertop

Most dishwashers are secured to the countertop to prevent any unnecessary movement during their operation. Without proper attachment, the dishwasher’s vibrations could cause it to move or even tip over during a wash cycle.
How to Do It:
- Open the dishwasher door slightly to access the mounting brackets, usually located at the top front corners of the machine.
- Using your screwdriver, remove the screws that attach these brackets to the countertop. Keep these screws in a safe place in case you need them for reinstalling or for a new dishwasher.
- Once both screws are removed, you should be able to move the dishwasher a bit more freely. However, be gentle to avoid any sudden tugs on the remaining connections.
Step 6: Take Off The Panel
The bottom front panel, often known as the kick panel or toe panel, hides your dishwasher’s legs and some crucial components. Removing it will give you access to further detach the dishwasher.
How to Do It:
- Locate the screws securing the panel, typically found at its top or sides.
- Using the appropriate screwdriver (usually a Phillips head), unscrew and gently remove the panel.
- Set the panel and screws aside in a safe place, ensuring they don’t get misplaced.
Step 7: Disconnect The Dishwasher From The Water Supply
While you’ve already detached the water supply line from the dishwasher’s side, there’s still an end attached to the water source under your sink. This connection ensures a consistent supply of water to your dishwasher during each cycle.
How to Do It:
- Head back beneath your sink and locate the end of the water supply line you loosened from the dishwasher.
- Using your adjustable wrench, gently unscrew the line from the water shutoff valve or wherever it’s connected.
Step 8: Loosen The Front Legs Of The Dishwasher
The legs of your dishwasher play a critical role in keeping it level and stable during operation. Adjusting them allows you to ensure your appliance sits evenly, avoiding undue stress on any side.
How to Do It:
- Using your adjustable wrench, turn the legs counterclockwise to shorten them. This action will lower the front of the dishwasher, making it easier to slide out.
- You don’t need to retract them fully—just enough to provide a bit of clearance and make the removal process smoother.
Step 9: Loosen The Back Legs Of The Dishwasher
Just like the front legs, the back legs of the dishwasher are instrumental in keeping it stable. While they might be a little trickier to access due to their location, ensuring they’re appropriately adjusted will significantly ease the removal process.
How to Do It:
- Slide the dishwasher out slightly to access the rear legs. Be gentle to avoid pulling on any remaining connections.
- Depending on your model, you might be able to reach the back legs from the front or might need to approach them from the rear.
- Use your adjustable wrench to turn the legs counterclockwise, shortening them for better clearance, like the front legs.
- Remember, the goal is to create enough space for the dishwasher to slide out smoothly, not to retract the legs completely.
Step 10: Unplug The Power Source
Unplugging ensures complete safety as you finalize the removal. As you move the dishwasher, the power cord can potentially get damaged if it’s still plugged in, presenting a risk.
How to Do It:
- Continue to gently slide the dishwasher out until you locate the power cord and the outlet it’s plugged into.
- Firmly grasp the plug (not the cord) and pull it out of the socket.
- As an additional safety measure, inspect the power cord for any signs of wear, tear, or damage. If you’re thinking of reinstalling this dishwasher elsewhere or selling it, ensuring the cord is in good condition is crucial.
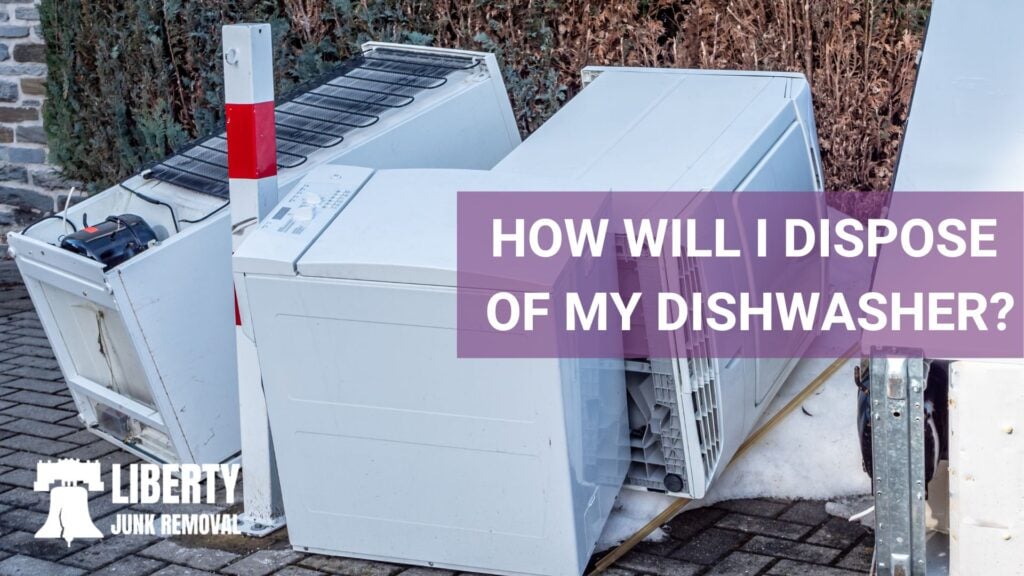
How Will I Dispose of My Dishwasher?
With the dishwasher successfully removed, you’re probably wondering: what next? Here are some of the environmentally friendly and beneficial ways to dispose of your old dishwasher:
- Donating
Donating extends the lifespan of a working appliance, minimizing waste and helping someone in need. According to the EPA, donating usable appliances reduces the amount of waste in landfills, conserving space and decreasing environmental impact.
- Selling
Selling your dishwasher not only puts some cash in your pocket but also ensures that the appliance continues to be used rather than ending up as waste.
- Local Recycling Center
Recycling helps break down the dishwasher into its base components, which can then be reused, reducing the need for raw materials.
- Local Scrap Yard
Scrap yards specialize in breaking down and selling parts or materials of old machines, promoting recycling.
- Municipal Waste Center Collection Program
Many cities and towns offer specialized collection programs for large appliances, ensuring they are responsibly disposed of or recycled.
- Hire a Junk Removal Company
Junk removal companies specialize in handling, disposing of, or recycling large items, ensuring you don’t have to deal with the hassle.
Ready for a Big Cleanup? Liberty Junk Removal is Your Answer!
Whether upgrading to a newer model or just decluttering, it’s important to ensure your old appliance doesn’t harm the environment. By considering donating, selling, recycling, or even junk removal services, you’re making a conscious choice toward a more sustainable future.
If you’ve got a basement overflowing with old appliances or a garage that has become a storage unit, Liberty Junk Removal is here to save the day. We’re a junk removal company in Philadelphia and we specialize in heavy lifting of big items that are too much for you to handle alone. Let us help you create a clutter-free, functional space today!